
Homemade Machine Bread (without the paddle hole!)
Smells sooooooo good!
Hold on! Before you purists go running away or you newbs tremble with fear, this way of making bread takes care of two issues: 1) control of ingredients and 2) ease of preparation. So I'm thinking that both groups can save some time and be a caring parent at the same time, how's that?
I've been toying with this recipe for about three years now, the original came from Allrecipes.com - a great resource for common-person recipes. Since then, I've tweaked it enough to warrant my own posting. So here it is:
Hardware:
2 cup measuring cup
Measuring spoons (1tbsp and 1tsp)
Quick read thermometer. I recommend the CDN DTQ450X ProAccurate Quick-Read Thermometer
Medium sized mixing bowl
Food scale that can be zeroed out.
Bread makeing machine that has a dough mixing setting
Cutting board
9" bread pan
Parchment paper
Oven
Software:
7/8 cup hot water (between 105°-120°)
2 tbsp of honey
1 - .25 oz packet of Fleischmann's Active Dry Yeast
2 cups Aashirvaad Atta flour (this is finely milled whole wheat flour that makes the bread tender)
1 cup Bread flour
1 tsp of salt
1/4 cup of vegetable oil (I use canola)
1 tbsp of melted butter
Here's how you do it:
Measure 7/8 cup of hot tap water into measuring cup and take it's temperature, you'll want it to be near 120 which is at the high end of acceptable yeasting temperature. I'll explain why in a minute.
Add the 2 tbsp of honey to the water and mix thoroughly.
Pour the honey/water mixture to the bread maker pan (the temperature will drop about 7-10 degrees, hence the need for the 120° degree water.)
Sprinkle the contents of the yeast packet all around the surface of the water. If you have the time, you should watch what happens at this point. The little granuals of yeast sink to the bottom of the pan and then after a few moments bloom back up to the surface. IT IS ALIVE!!! Ah, the wonders of nature and cooking!
Let the yeast mixture sit for approximately 10-15 minutes until it’s “Mr. Foam”:
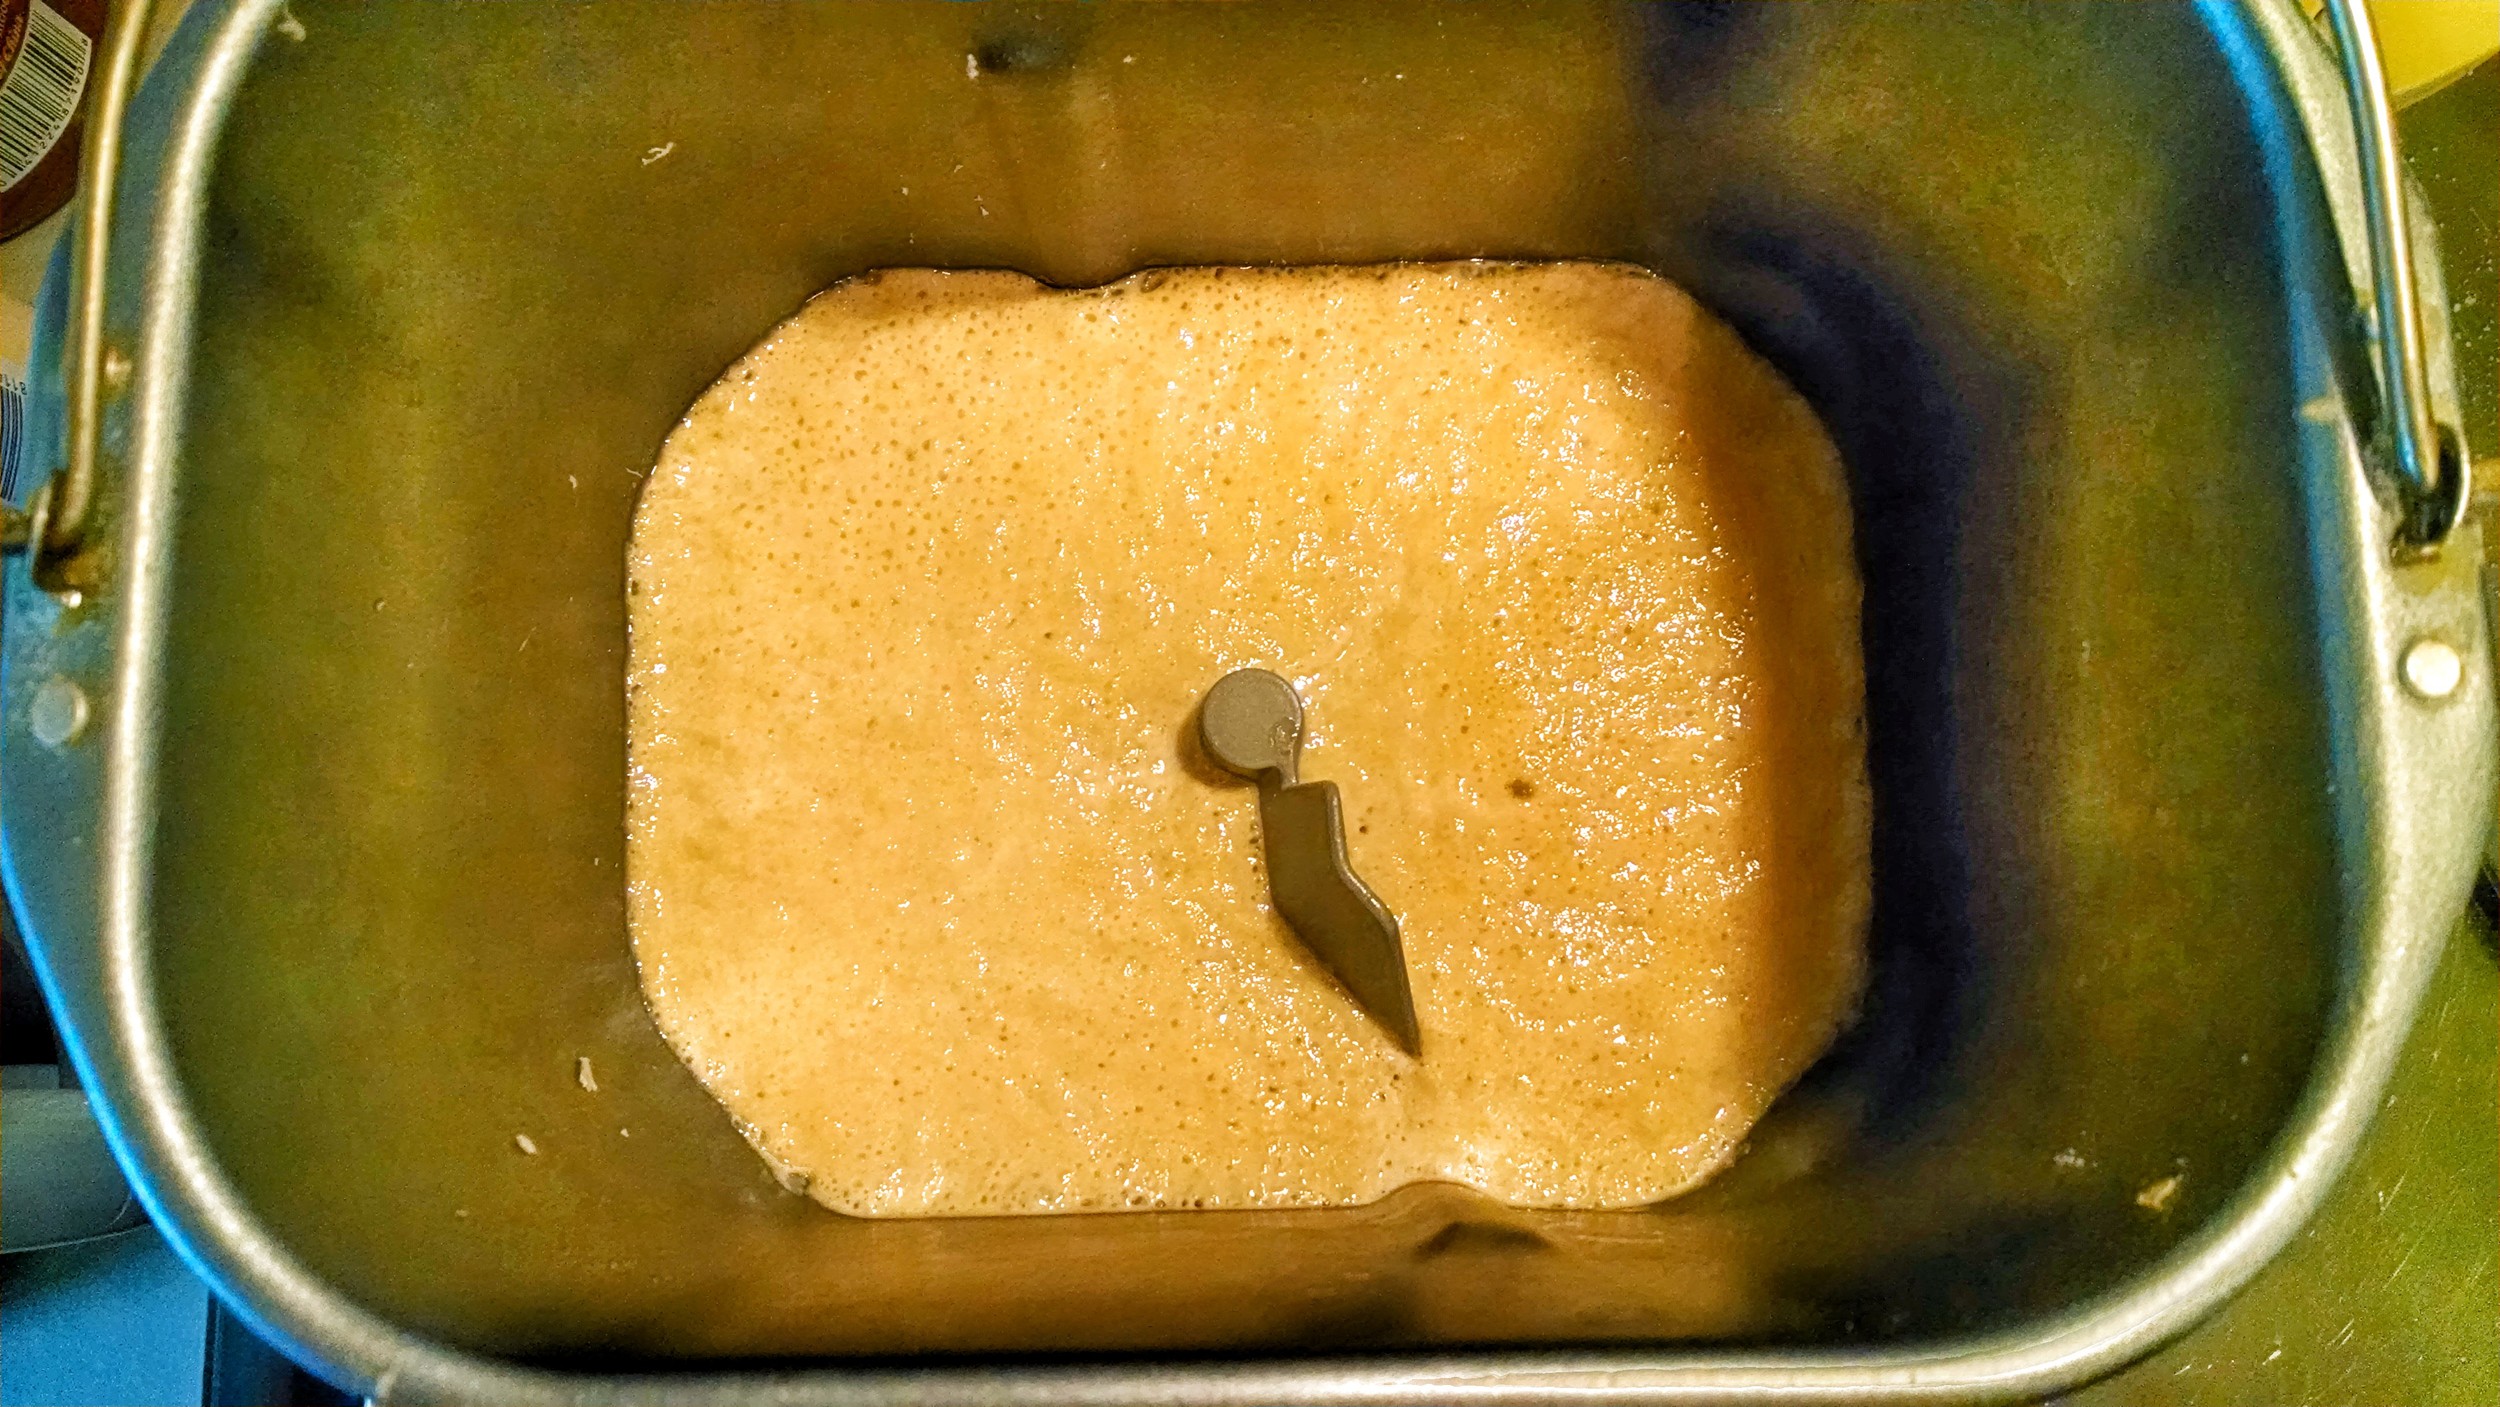
Mr. Foam!
While Mr. Foam is getting his act together, you can measure out your flour. I use measurement by weight becuase it's much more accurate and yeilds consistent results. Here's how to do that -
- Place your bowl on top of your scale and Tare (zero-out) bowl's weight, like so:
- Add the 1 cup Atta flour till it weights 240 grams.
- Zero out the scale again and add 120 grams of bread flour. That's it!
Add 1 tsp of salt to the flour mixture.
Once Mr. Foam is ready, add 1/4 cup of vegetable oil and 1 tbsp melted butter to Mr. Foam.
Add the flour mixture to bread maker pan.
Set bread maker to the dough mixing setting and start it up! It looks like this:
90 minutes later, it's time to do some light kneading. The idea is that the bread maker has done the lion share of work so we're just going to help it along into the bread pan. Here's how:
- Take the dough out of the mixer and flatten it out onto a cutting board -
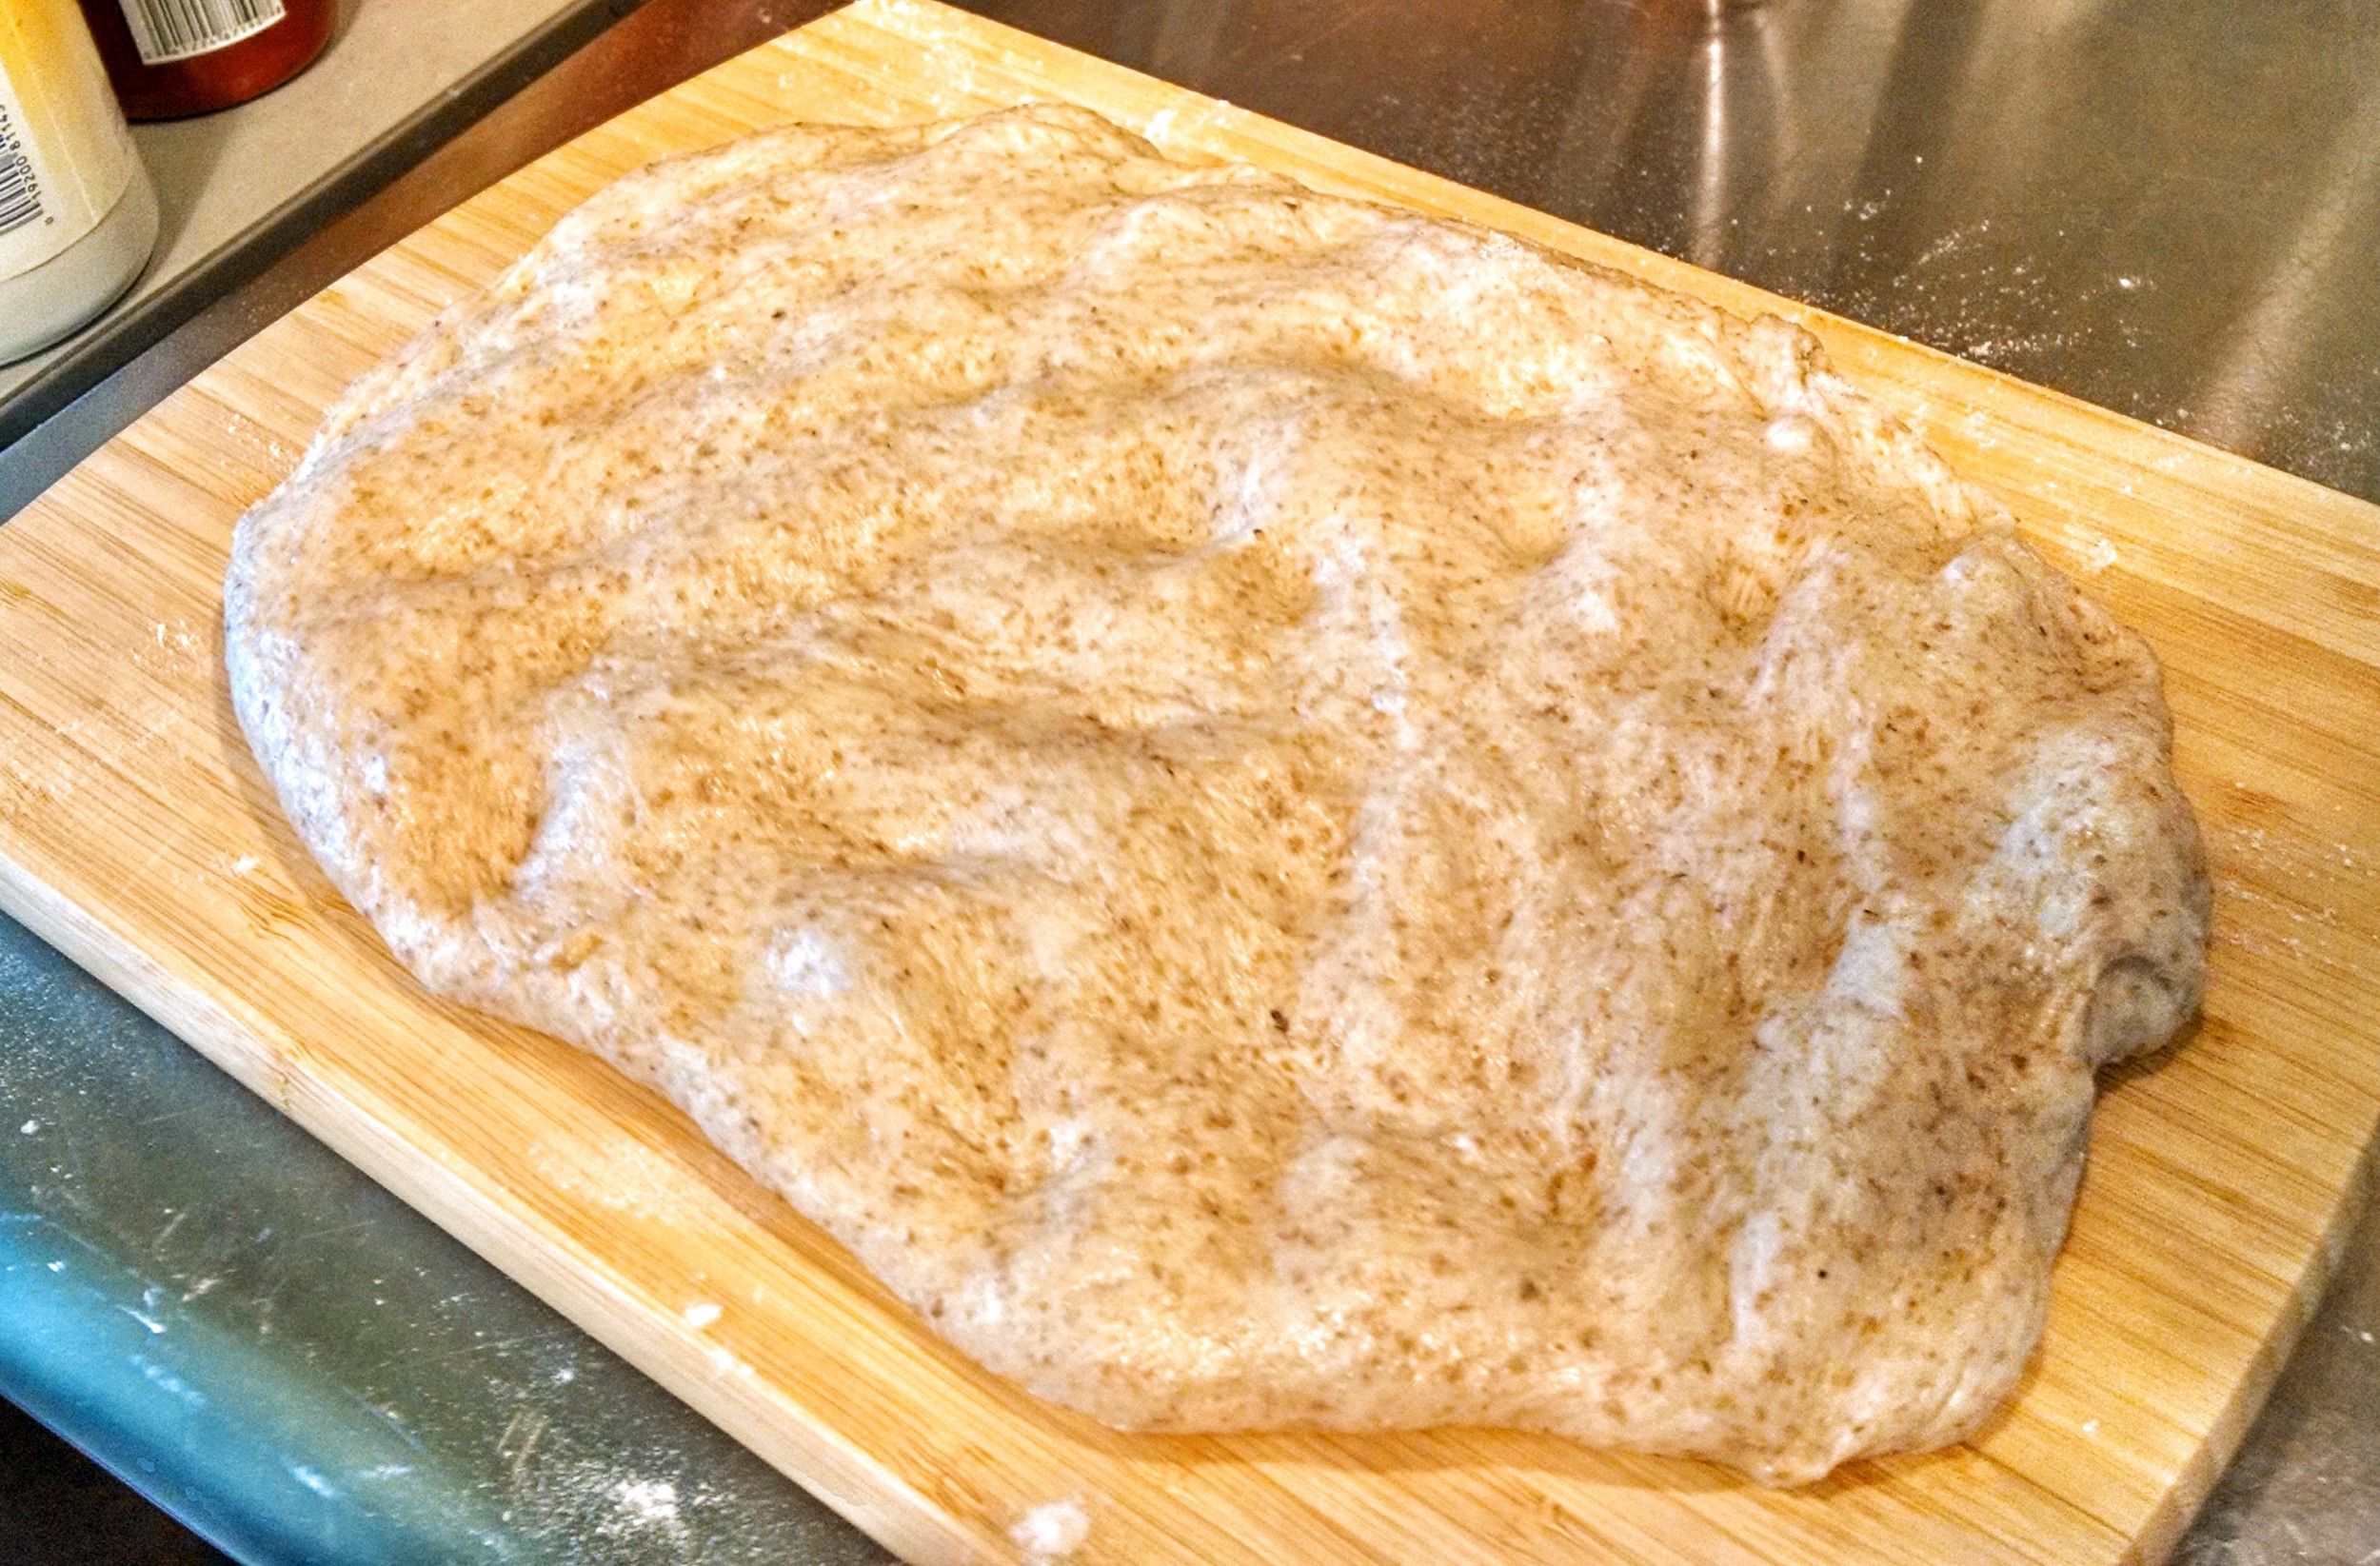
Flattened Dough
- Fold thusly:

Fold in thirds.
- Rotate dough 90 degrees and flatten once again.
- Then fold as before.
- Finally, gently roll your bread friend around (bread is friendly, mind you) to seal the seams created by the folding. After about a minute of doing this, it should look like this -
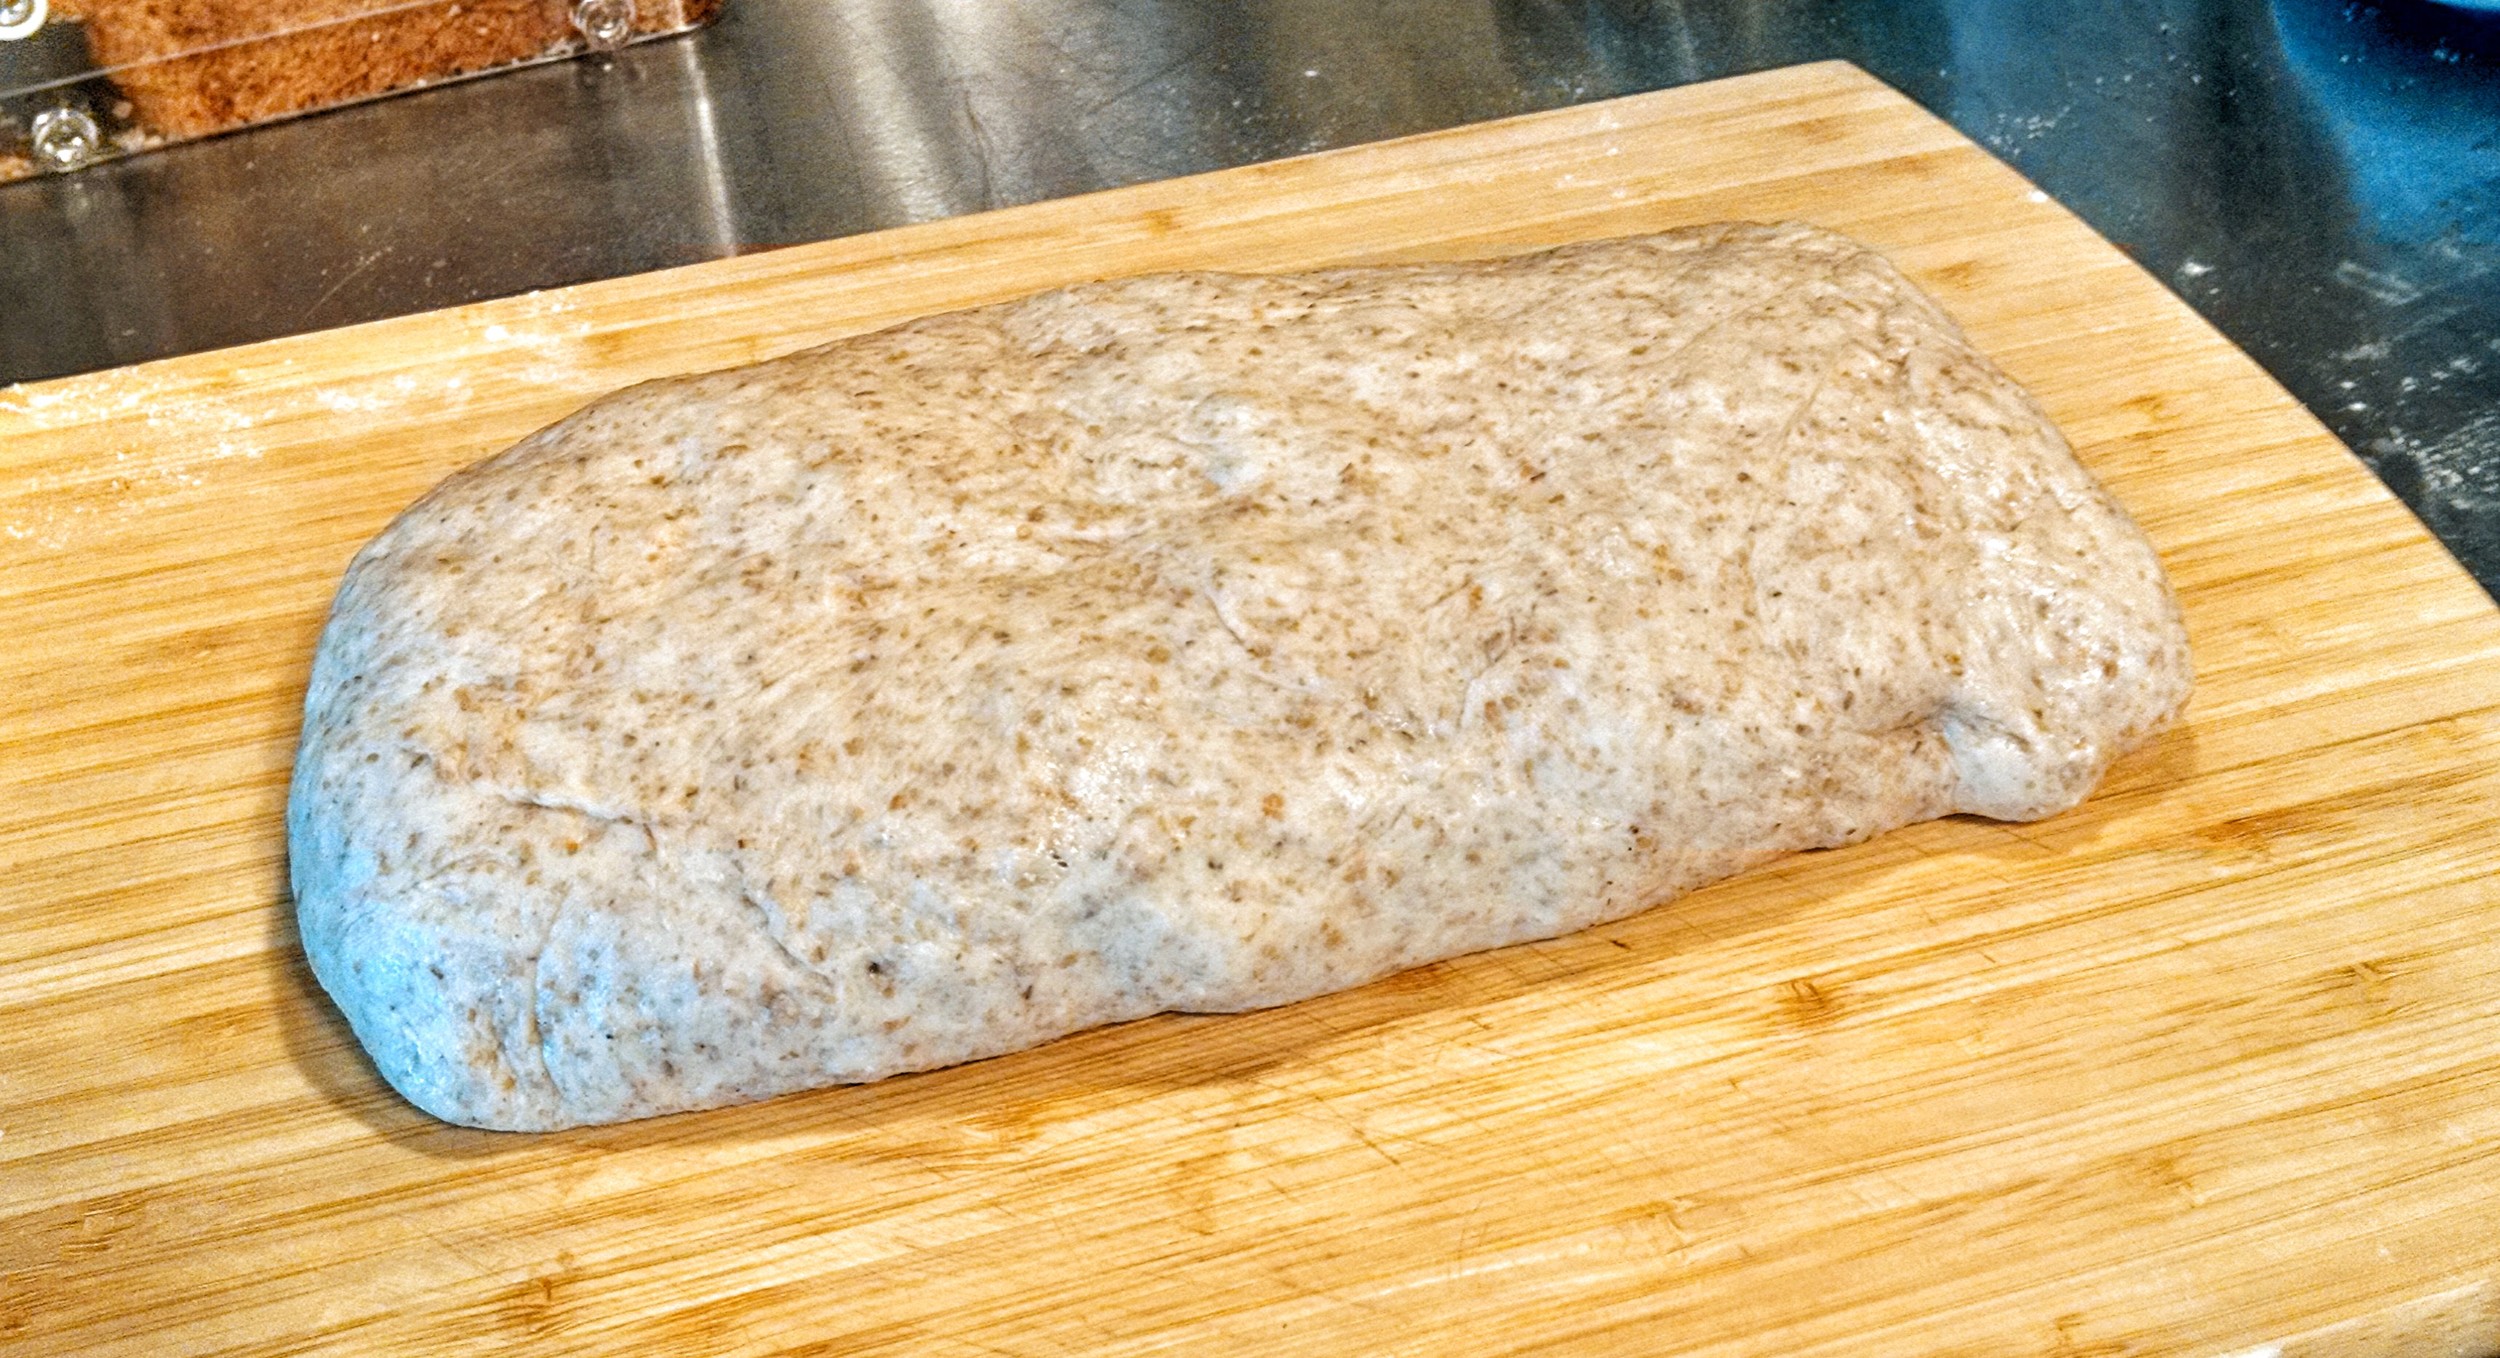
Rolled and ready!
Drip some vegetable oil into the bottom or your bread pan and place a 6" strip of parchment paper across the middle of the pan. Like so -
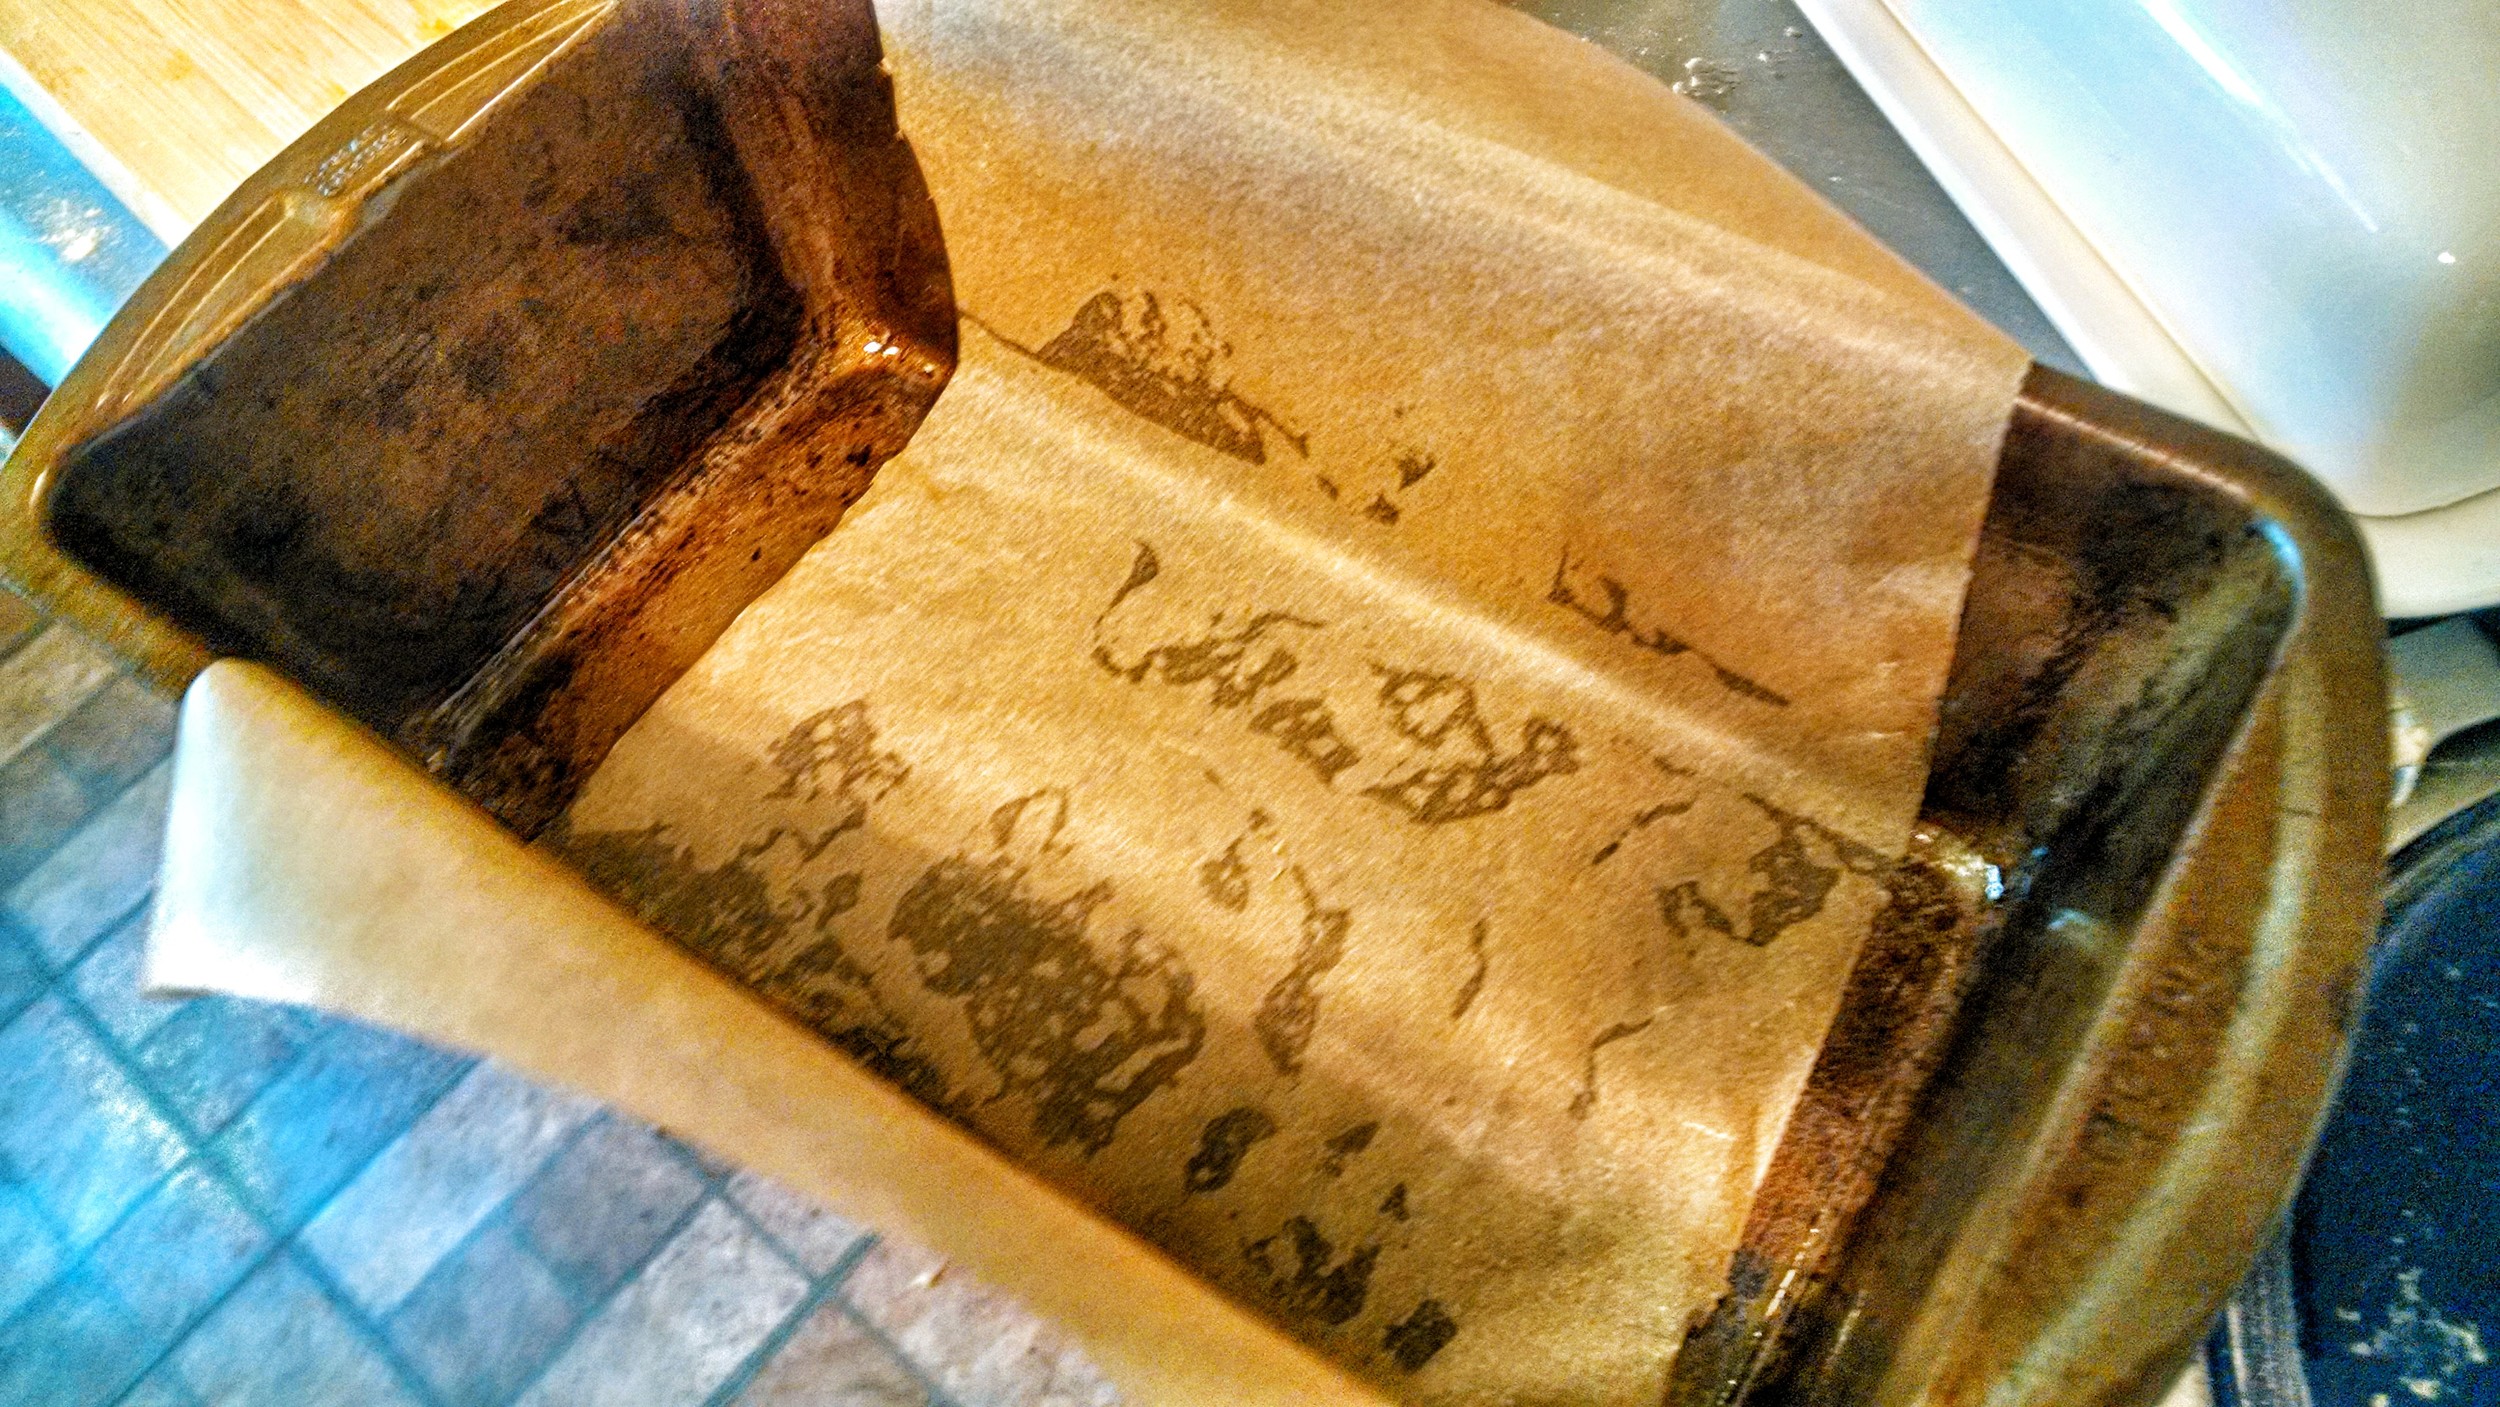
These strips help in taking the finished bread out of the pan.
Place the dough gently into the pan and place in an unheated oven for 1 hour.
After an hour, the bread will rise. It will look like this -

It rises!
If you have a convection oven, as I do, you can just set the temperature to 375F and the timer to 35 minutes and let 'er rip. If, on the other hand, you don't have a convection oven, gently take the bread out of the oven and preheat to 375F. Then put your bread back into the oven for 35-40 minutes.
35-40 minutes later, you should have something like this -

Nice kitty!
Oops! Sorry, that's our cat stealing the show, as I said, it should look like this -

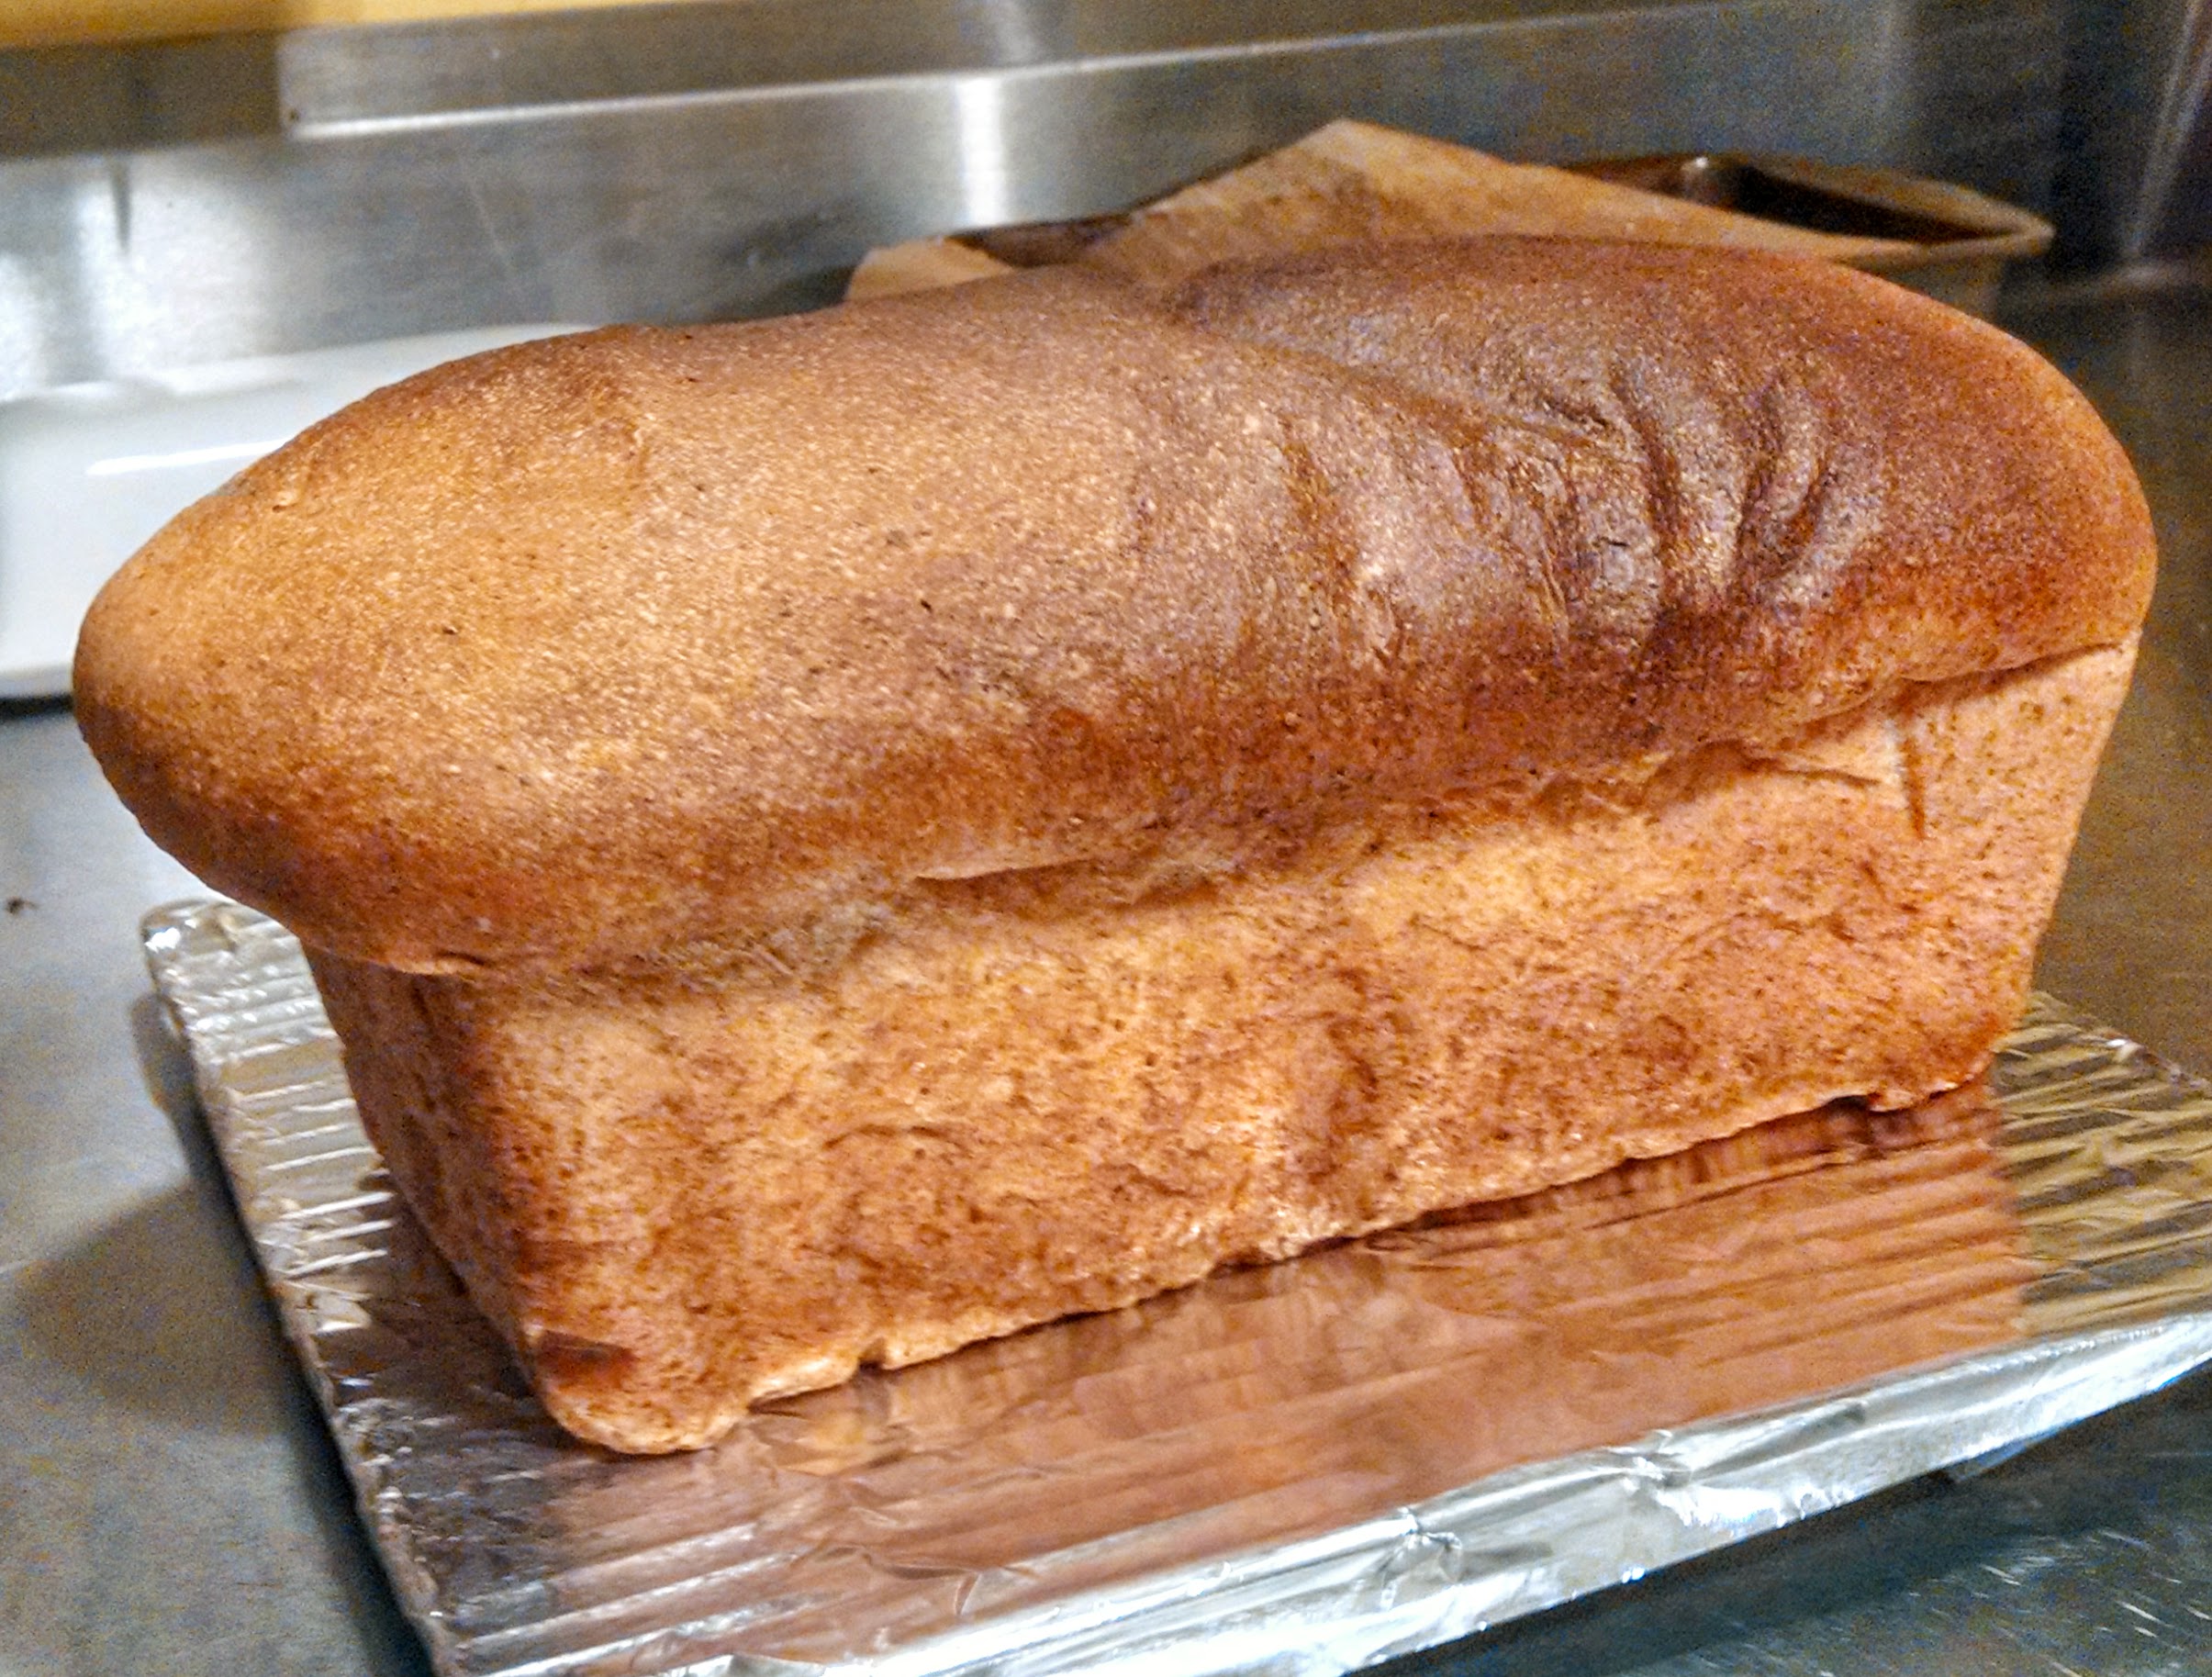
Bun and done!
Let it cool on the counter until it is room temperature - at least a couple of hours before you start to slice this bad boy up. I actually wait over night so that the innards have toughened up a bit and aren't prone to ripping during the slicing process.
Some notes:
As you might surmise, this is not a hard and fast science. Feel free to experiment with different flours, substitutes for the sugar in the yeast mixture, etc...
I highly recommend that you get a bread box to house your finished bread, a bread slicing guide and a serrated bread cutting knife for slicing. The key with the knife is that the blade needs to be long enough to allow for clearing the width of the cutting guide with room for the sawing action.
And lastly, I cannot express the amount of satisfaction and feeling that you are doing something good for your family when a loaf of bread comes out of the oven and it's sliced up ready for your kids to make their grilled cheese and PB&J's! Just a quick glance at the list of ingredients on a package of store bought bread should bring that notion home!
Enjoy!
Enrich!
SPC